| 4. |
After clicking “Remove” button, the Uninstallation Wizard screen will be appeared which will guide you to uninstall the software. |
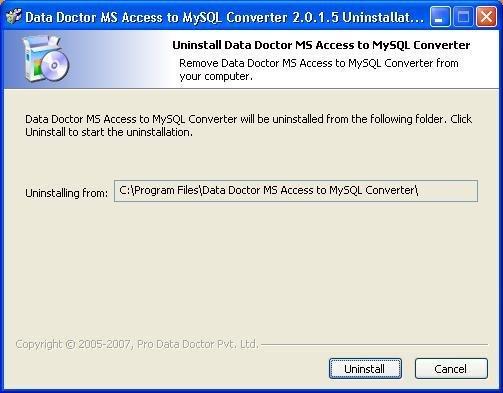
Click on “Uninstall” button to continue the Uninstallation process.
| 5. |
On clicking “Uninstall” button, the following screen will be appeared: |
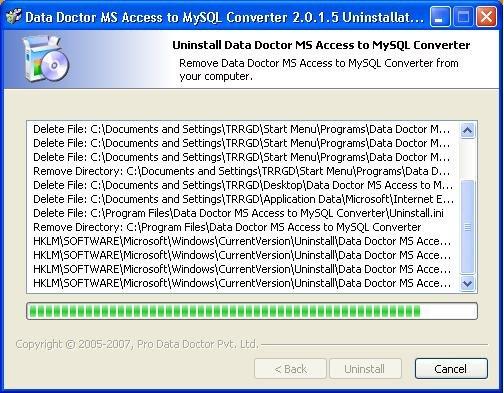
This screen will display the Uninstallation of application files.
Click on “Finish” button to finish the Uninstallation process.
| 6. |
After clicking “Finish” button, the Uninstallation Complete screen will be appeared: |
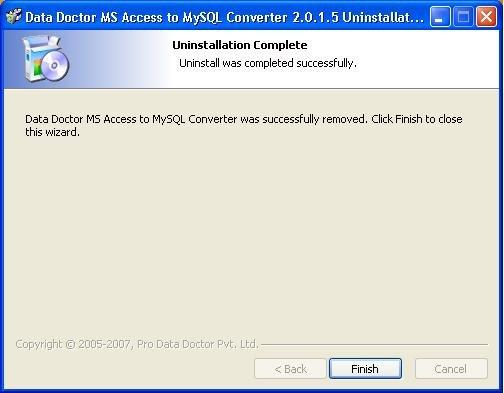
Click on “Finish” button to complete the Uninstallation process.
Now MS Access to MySQL database conversion application program has been completely uninstalled from your computer system. |
